In the beginning…
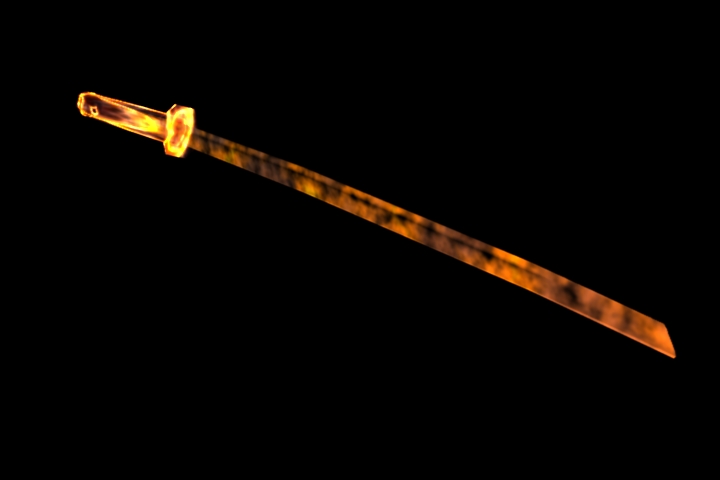
Let’s take a step back through that misty time portal (created by a Temporal War Time Bug, mind you, but ignore that fact) and peer into the Japanese Feudel times. Do you remember those pointy objects that Samurai used to defeat their foes? Said pointiness was (and is) called a Katana (the Japanese sword). Bunches of peoples might know this but…
18 months? It could take over 18 *months* to create it? Why??
So glad you asked! Let’s first pounce upon the first step, that of:
Step 1: Gather Ye Tamahagane!
The art of creating such a weapon starts with a special material known as tamahagane, a steel produced from iron sand. Picture now the tatara furnace, slumbering like a sleeping dragon, that radiates the focus of heat… and the apprentices diligently shoveling in the raw sand.
My gosh, the sound! The sound from the acoustically treated walls comes alive as the fire crackles and the air gets a little warmer… your forehead starts to glisten and then imitates a tsunami of sweat. Three days comes, 3 three nights goes as it lights the furnace, turning the sand into the precious Tamahagane. Cool that prize down, and you’ll see – it is a pattern of shining steel (the duller the results, the less pure the sand).
Next, we move to:
Step 2: Forging the Blade
Subsequent to that, the BladeSmith picks the best tamahagane chunks and exposes them all to high red heat. Talking about blazing – campfires would love such a heat for marshmallows! Okay, probably not, but the point remains.
Within this delightful Sauna of the Gods, the apprentices spontaneously spring up to perform an impromptu rendition of HammerTime as the steel is folded and hammered, hammered and folded, up to sixteen times (Rumor has it that the home cardio exercise programs owe their origins to this). 16 times! Each time, lumps fly high in the air sending small sparks of radiant bright light, and another chorus ensues.
The end result from this repetition of folding? Why, it forms the blade, removes the compromising (otherwise known as “icky”) elements, and gives the steel the strength and versatility required for a blade It’s springy! It’s slicey!
It’s perfect for the needs of the samurai.
From there, we move to:
Step 3: Shaping the Blade
As the outline of the body of the steel starts to take shape, the smith begins to craft the famous curve of the blade. More precise hammering is required; the BladeSmith is getting to one of the most critical steps within the whole journey. And that one is:
Step 4: Differential Hardening!
The Master BladeSmith now applies a special kind of clay mixture to the *edge* of the blade. Just the edge, mind you, thankyouverymuch. And then… welp, hmmm. Imagine the sound a dragon would make as his fiery breath hits, not football parents themselves, but their custom-designed one-of-a-kind Stanley Quencher Bottles! Sizzzzzzzzzzzzzzzzzzzzzzzzzzzzzle results, wouldn’t you think?
So! With that sound in your imagination, imagine the chocolate covered, no no no I mean clay-covered blade being thrust into water (a process called ‘quenching’ that ideally produces an extremely hard and razor-sharp edge).
Steam billows out.
HammerTime stops!
And a breath is held as everyone examines the blade – did it crack (as you might imagine, cracking is NOT a Good Thing)? Did it hold strong? If it held strong, why, the katana was ready for the next step! Move now to:
Step 5: Mirror Mirror on the Wall
”Bring out your polisher!” Now it’s time for polishing to such an extent, the blade possesses a mirror-like quality. A skilled polisher takes control and applies a series of whetstones that get progressively finer and finer.
And would you believe, polishing is more of an art than just plain “work”? The reason why is simple – polishing brings out those nifty patterns in the steel (called ‘hamon’) that are so prized! The sword now shines like the brightest star that the gods sent to earth… in the package of one gorgeous katana.
And to add the cherry on top, or the “stuff that lets samurais use their swords,” finally behold:
Step 6: The Final Assembly
Crafted by other artisans, the blade receives the handle (tsuka), guard (tsuba), and the sheath (saya). Like the BladeMaster, these components are carved and fitted via skilled craftsmen, aligning each part perfectly. As a sidenote, the handle part is also covered with rayskin and silk, each sensation shining sleek and grainy at the same the same time (the optimal grip!), as a perfect symbol of the beauty of the katana sword.
Cool, aye?
Enjoy!


